ModSecurity on WordPress: All you need to know
Ever wondered how to fortify your WordPress site against destructive cyber threats? Enter the world of ModSecurity. Stick around to discover a new realm of website protection.
- ModSecurity is an open-source Web Application Firewall (WAF) providing real-time monitoring and control. It acts as a protective layer for your WordPress site against cyber threats.
- Mod-Security works by scanning incoming requests for harmful codes, matching them against predefined SecRules, and preventing any malicious attempts.
- The tool provides various features, including real-time security monitoring, virtual patching, IP-reputation filtering, and protection against DOS attacks.
- Some common Mod-Security errors are addressed with solutions, such as adjusting certain limits, commenting out specific lines in the config file, updating request body limits, and creating a whitelist for certain IDs.
What is ModSecurity on WordPress?

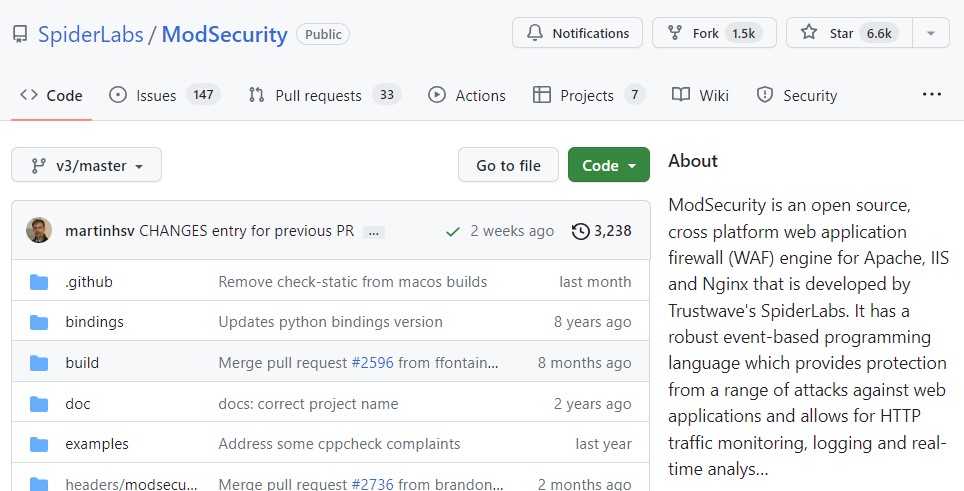
ModSecurity is an open-source web application firewall (WAF), offering real-time monitoring and control. Code source is on GitHub : https://github.com/SpiderLabs/ModSecurity.
Think of it as your virtual bouncer, scanning incoming requests for any harmful codes. With WordPress being a favored target for hackers, ModSecurity is your secret weapon against any malicious activity.
Modsecurity: how does it work?
Working behind the scenes, ModSecurity operates as an IDS layer between your server content and the outside world.
It scrutinizes incoming requests, matches them against predefined SecRules, and nips any foul attempts in the bud.
Not only does it provide real-time security monitoring but also offers:
- virtual patching,
- IP-reputation filtering,
- protection against DOS,
- and more!
Interested in ModSecurity for your WordPress website? Then let’s see how to enable it!
Also read : React JS: understand its magic and make it work for you
How to enable ModSecurity on WordPress?
Ready to boost your website’s defense? Let’s walk through the process together!
- Check ModSecurity Availability: Kick-off by ensuring ModSecurity is installed and activated on your server. Don’t hesitate to reach out to your hosting provider’s support team if you’re unsure.
- Backup Your Website: Think safety first! Before making any significant changes, back up your WordPress website, database, and files.
- Enable ModSecurity on Apache: If ModSecurity isn’t already enabled, you may need to modify your Apache server configuration. A bit of SSH into your server and you’ll be editing the Apache configuration file.
- Locate and Edit: Find the line in the configuration file that loads the ModSecurity module. It might look like this:
LoadModule security2_module modules/mod_security2.so
Commenting out? Simply remove the ‘#’ at the start of the line to enable the module.
- Save and Restart: Once you’ve made changes, save them and restart Apache for them to take effect.
- Install Rules: Now comes the installation and configuration of ModSecurity Rules. Various rule sets are available, like the OWASP ModSecurity Core Rule Set (CRS), which provides a solid foundation.
sudo apt-get install libapache2-modsecurity
This command will typically install the OWASP ModSecurity CRS on, say, an Ubuntu server.
- Incorporate Rule Sets: After installing, include the rule set in your Apache configuration file by locating files like modsecurity.conf or modsecurity_crs.conf.
- Adjust Accordingly: You might need to refine the rules to suit your WordPress website’s functionality. Some rules can trigger false positives for certain plugins or themes.
- Test and Monitor: After you’ve enabled ModSecurity, thoroughly test your site to ensure everything runs smoothly and that legitimate requests aren’t blocked.
- Keep Updated: Regularly update ModSecurity, its rule sets, WordPress, themes, and plugins to stay on top of the latest security patches and enhancements.
How to tackle ModSecurity errors?
Sometimes, you might encounter some stumbling blocks. Don’t fret; we’ve got you covered.
- For an “Execution error – PCRE limits exceeded (-8)”, adjust SecPcreMatchLimit and SecPcreMatchLimitRecursion in modsecurity.conf to 1000000.
- To fix “Access denied with code 403 (phase 2). Match of ‘eq 0’ against ‘MULTIPART_UNMATCHED_BOUNDARY’ required”, comment out line 86 in modsecurity.conf.
- If you come across “Request body no files data length is larger than the configured limit”, update SecRequestBodyLimit to 6000000.
- Create a whitelist for certain IDs by crafting /etc/apache2/conf-enabled/whitelist.conf and adding specific SecRuleRemoveById rules for /wp-admin/theme-editor.php and /wp-admin/admin-ajax.php.
Remember to run sudo systemctl reload apache2 every time ModSecurity configuration and rules are adjusted.
ModSecurity WordPress: Wrapping it up
So, you’ve journeyed through the alleyways of ModSecurity on WordPress. What are the key takeaways?
- ModSecurity is an open-source web application firewall (WAF) for real-time application monitoring and control.
- It safeguards against various vulnerabilities using Core Rule Sets, acting as a gatekeeper between your web content and the outside world.
- Enabling and adjusting ModSecurity involves following specific steps and tackling potential errors. Remember, each code adjustment needs a system reload.
Securing your website might seem daunting, almost like learning a new language. But with a roadmap in hand, you’re well-equipped to navigate this territory. After all, better safe than sorry, right? So, get out there and fortify your WordPress site with ModSecurity!